Android recovery mode screenshot

Screenshot is a best tool to give a direction for novices. We had used it to demostrate a lot of methods to flash custom ROMs into our Android devices. The Android SDK provides different methods to take a screenshot at normal Android mode but none for Recovery mode.

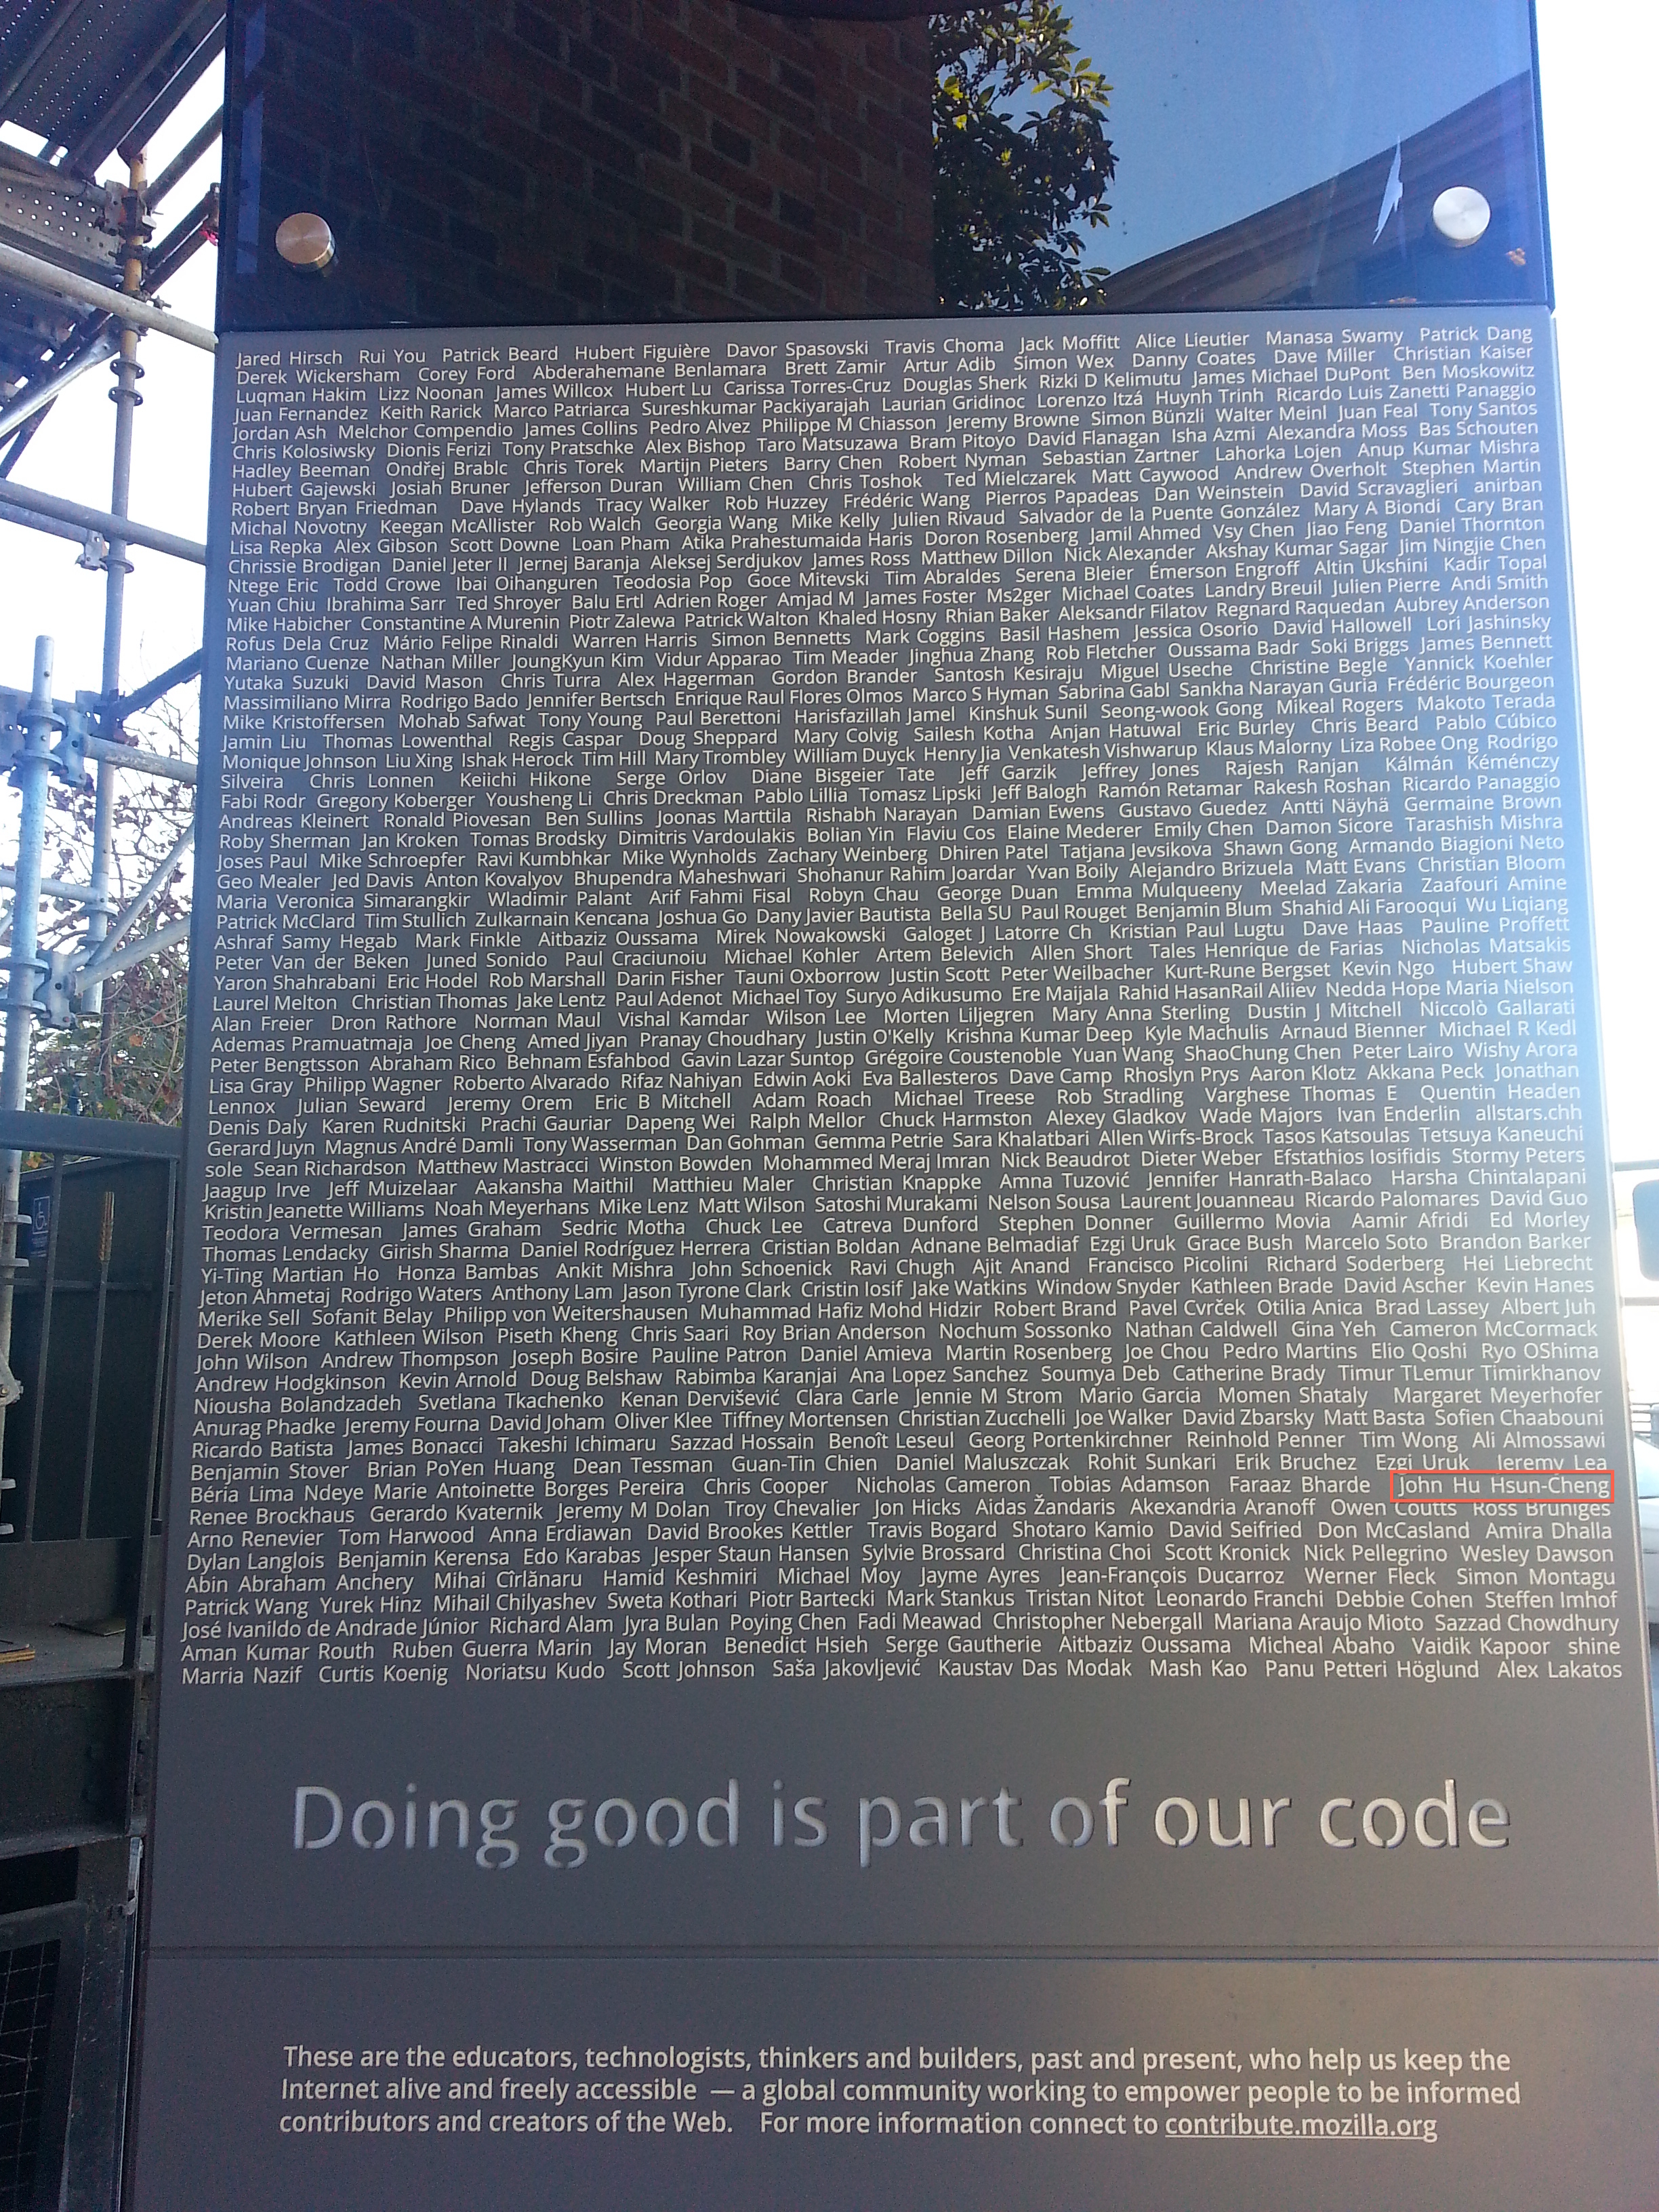
To make it possible, John Hu had done some researches and found the following url:

http://forum.xda-developers.com/showthread.php?p=40260716

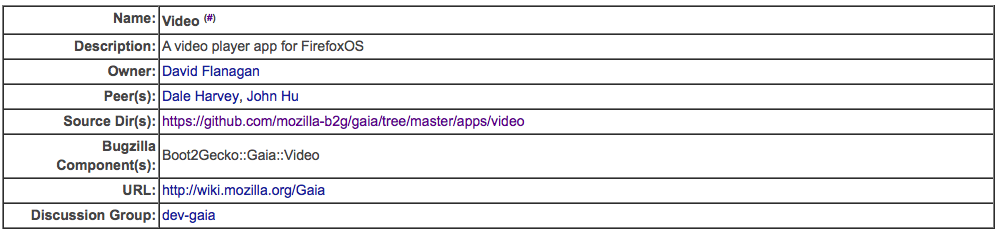
That’s a nice tool to take a screenshot at Recovery mode and it works pretty good. But it only has Windows version. That’s too bad becase John Hu doesn’t have any Windows box. So, John Hu created a porting to Mac OS X and Linux. You may find the source and executable files at

https://github.com/john-hu/android-recovery-screenshot

To run it, we may need to do the following thing:
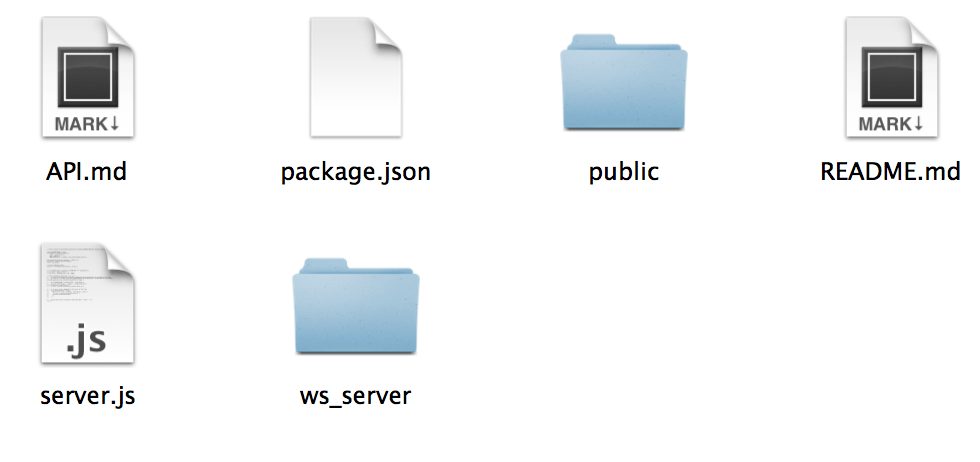
  1. download the code
  2. reboot your device into recovery mode
  3. plug-in USB cable
  4. run “screenshot_run_me.sh” or “screenshot_run_me.bat”
  5. find your screenshot file at the folder

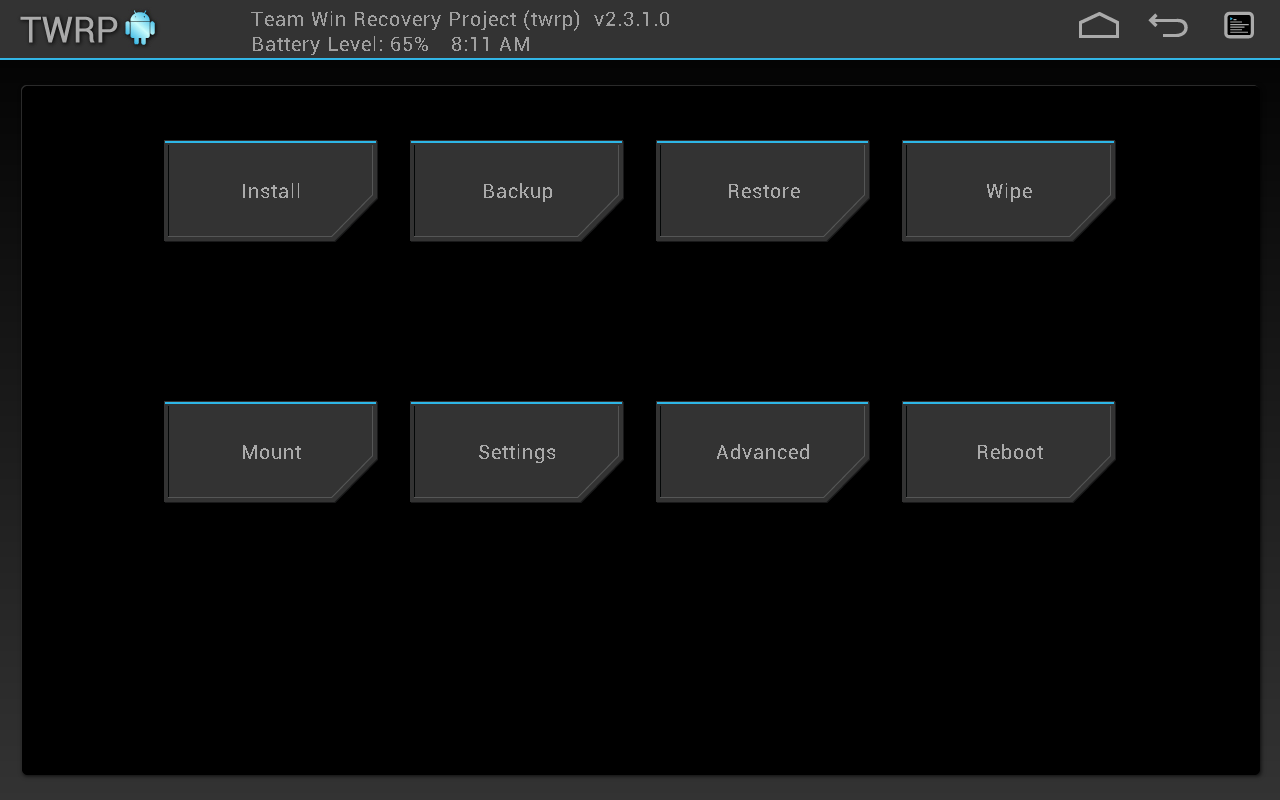
At TWRP recovery ROM, we may need to wait for a few seconds to make sure the device is connected with your PC after you see the recovery mode screen. Or you can use adb devices to check if the device is already connected with your computer.

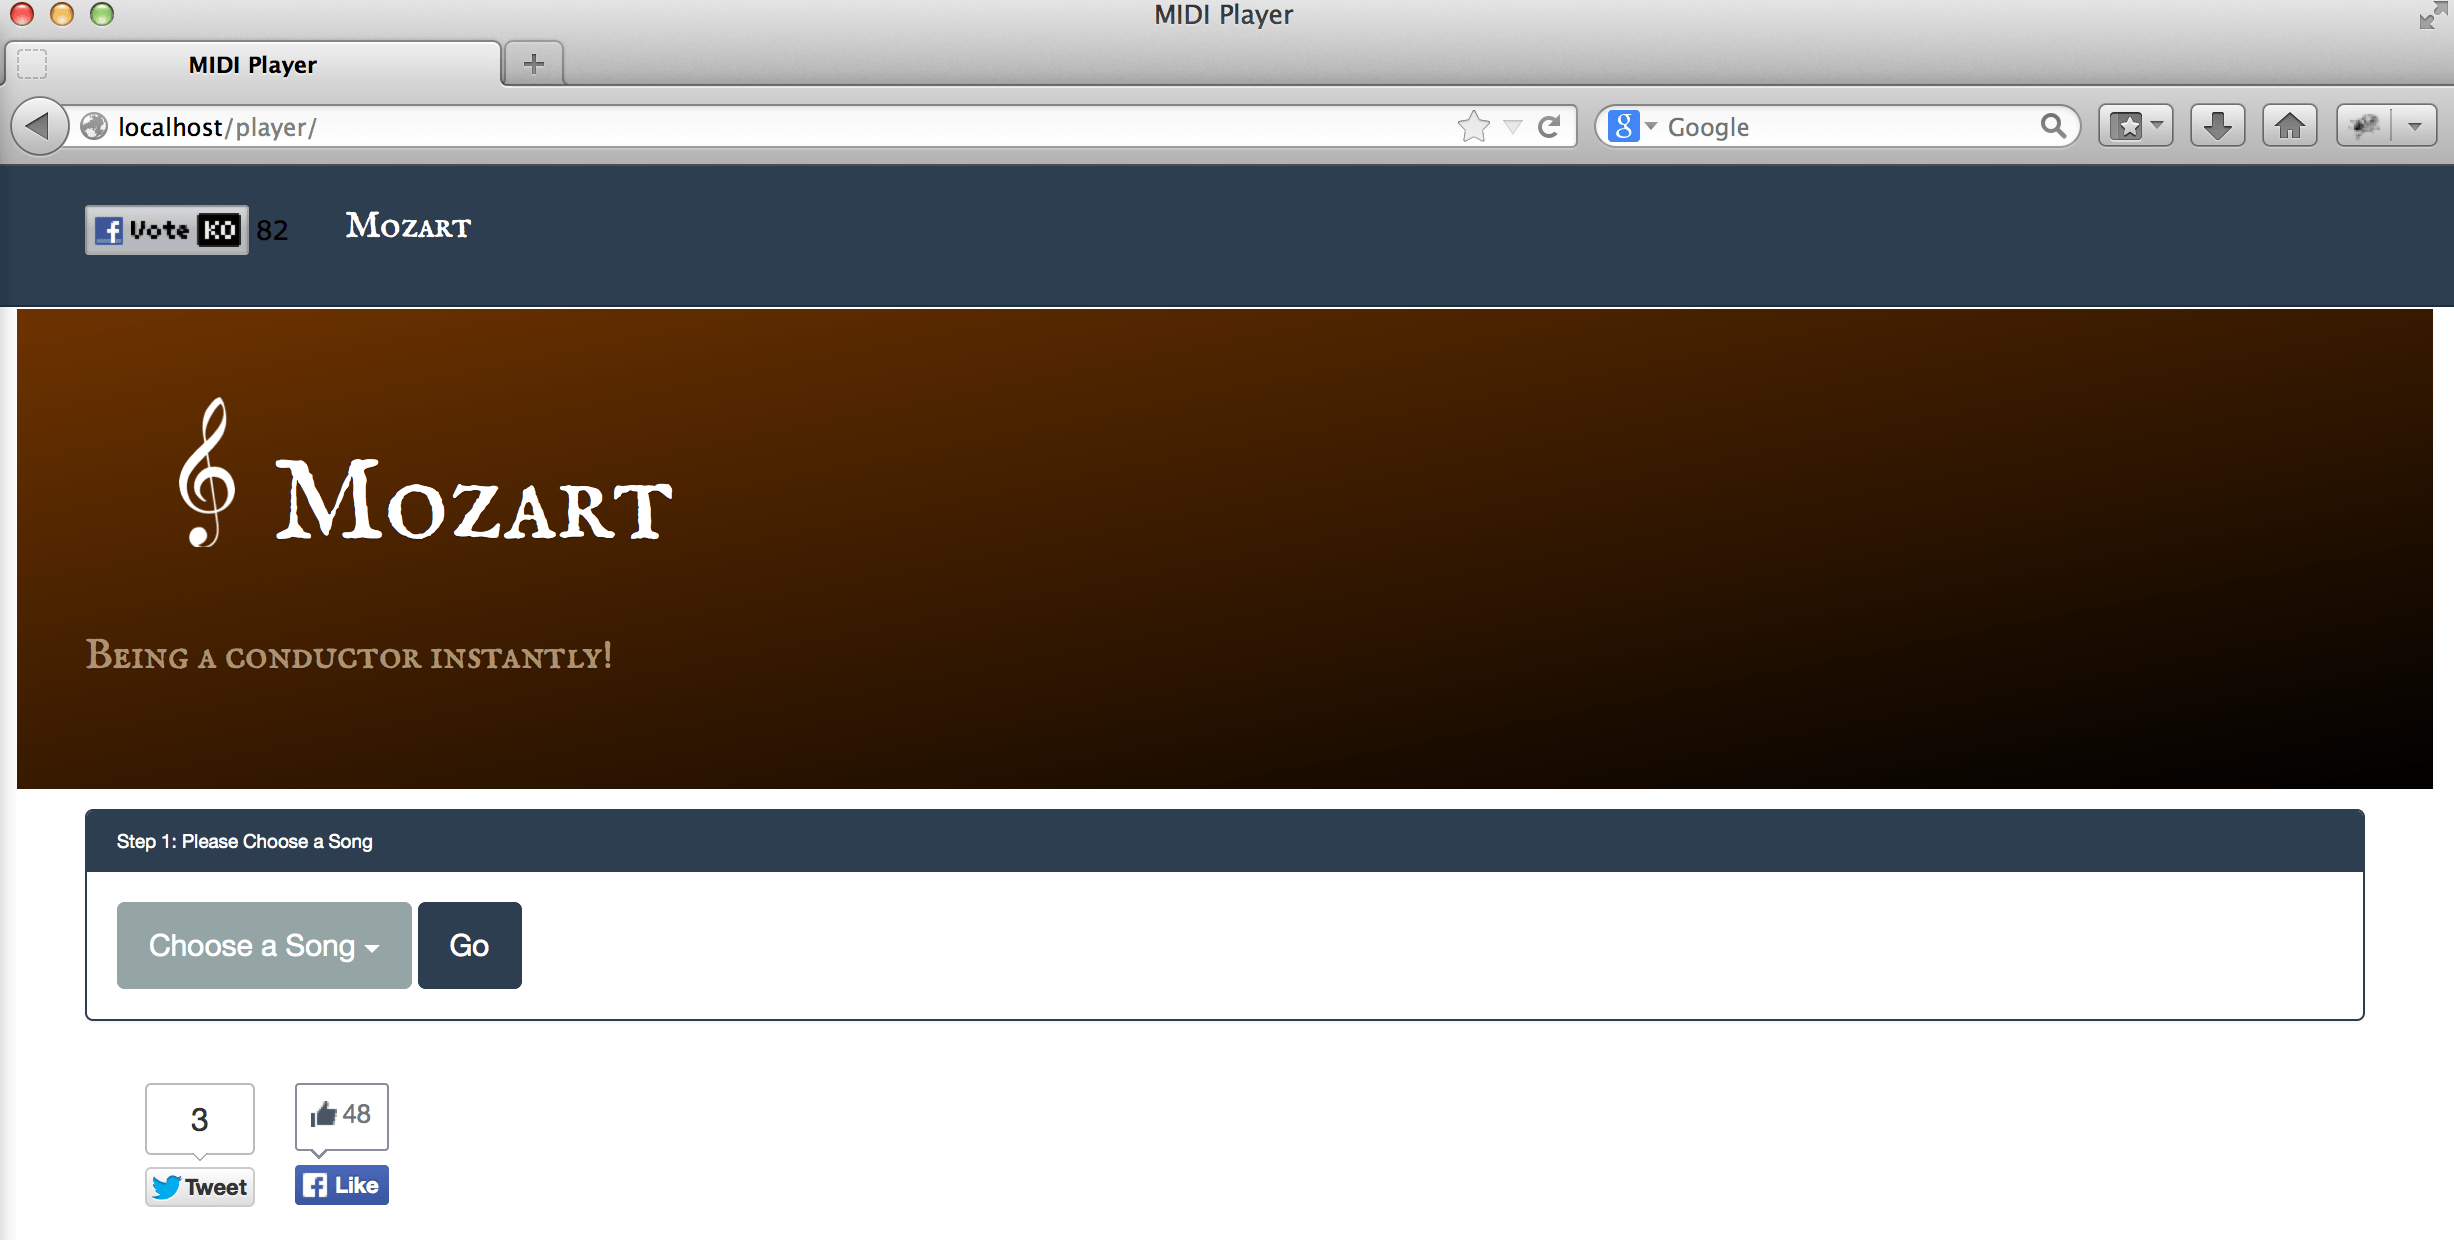
A screenshot example can be found at:

Example of TWRP screenshot

Note:

  • We need root authority to mount the partition if you use the device offical recovery.
  • Pleae run the script at the folder it is.
The Most Test Cases Creator

John Hu wins a small prize at Mozilla: the most test cases creator. The prize is 100 USD amazon gift card. We are not aware the existence of this prize.

Firefox OS Video App Peer

After a lot of hard works, John Hu is a Video app module peer of Firefox OS. A video app peer can review and join the discussion of the future plan.

Mozilla monument

Mozilla Monument

Mozilla had built a monument at the front of SF office. It’s really glade to see my name at the monument. It’s my pleasure to work with all of you at Mozilla.

John Hu at monument
John Hu at monument

Mozart

沒錯,人人都可以是指揮家 - 這是 Mozart 計畫所期望達到的目標。我們只要簡單的搖晃手機,身邊的電腦就如同交響樂團般演奏出屬於我們的音樂。實際的玩法,我們可以參考下面這段影片:

Mozart 計畫是一個參加 node.js knockout 2013 比賽的音樂節奏遊戲。這篇文章將介紹如何在我們的電腦中安裝及設定好 Mozart。

計畫介紹

Mozart 計畫在 node.js knockout 2013 比賽一結束後,就立馬將源始碼放在 github 上,即 https://github.com/moz-art/mozart 。Mozart 完全採用 Web APP 及 Web API 完成的遊戲。首先,它利用手機的三軸加速計 (Device Motion) 來測量搖晃的速度,透過 WebSocket 技術將測量出來的速度傳輸到多台電腦後,再使用 WebAudio 技術依照搖晃的速度,將一個一個的音符播放出來。

下載源始碼

我們可以直接透過這個網址來把壓縮好的源始碼下載回來:下載這裡。下載並解壓縮完成後可以看到像下面的程式碼:

source code image
源始碼

安裝 node.js

Mozart 是參加 node.js 比賽,就一定要安裝最新版本的 node.js 了。我們可以在 http://nodejs.org/download/ 下載到可以安裝的 node.js 安裝檔。安裝完成後,我們可以在命令列中輸入 node –version 進行確認,例如:

check node version
node --version

安裝相依函式庫

因為 Mozart 計畫是使用 node.js 來開發,所以安裝相依函式庫的方式非常的簡單,我們只要輸入 npm install 就能開始啟動安裝程序:

npm install
npm install

安裝完成後,我們可以看到像下面的相依關係圖:

the result of npm install
after npm install

啟動程式

Mozart 的主程式入口是 server.js,所以我們可以透過 sudo node server.js 來啟動它。但是,為什麼要用 sudo 呢?因為它會使用 express 及 ws 模組來啟動網站伺服器。如果,大家是用 Windows,記得要用管理員權限來執行它。啟動後,命令列的畫面會像:

start the mozart server

如果我們遇到 EADDRINUSE 的錯誤時,就代表我們要使用的 80 port 被其它應用程式使用了。錯誤的畫面如下:

error address in use
error address/port in use

此時,我們可以把用到 80 port 的程式給關閉。如果,我們不想這樣的話,也可以改一下源始碼,讓它變成是 8080 或是使用任何我們想用的 port。以下圖為例,我們可以把第2行的 production 改成 false 或是,直接把第 9 行的 port 寫一個固定的數值:

how to modify port
how to modify port

開始指揮囉

最後,我們只需要打開自己的 Firefox,在網址例中輸入 http://localhost/,就可以依照指示開始指揮囉。如果,我們有改過 port 的話,我們需要輸入 http://localhost:[port]/ 後就可以了。

game screenshot
game screenshot

最後,還是要不免俗地介紹一下 Mozart 計畫的團隊成員:

  • evanxd evanxd — Taoyuan — UX and server
  • john-hu john-hu — Taichung — music player
  • yurenju yurenju — Taipei — conductor device
  • rexboy7 rexboy7 — Taiwan — MIDI